Followers

Sunday 14 April 2024

Wedding Day Romance

 Good morning and a very happy Sunday. Today I'm sharing a folio that I made following a tutorial by the fabulous and much missed Cal Summers.

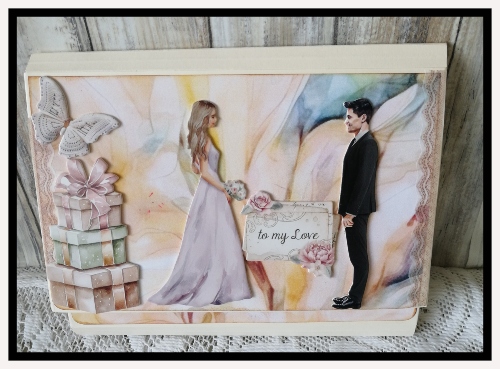
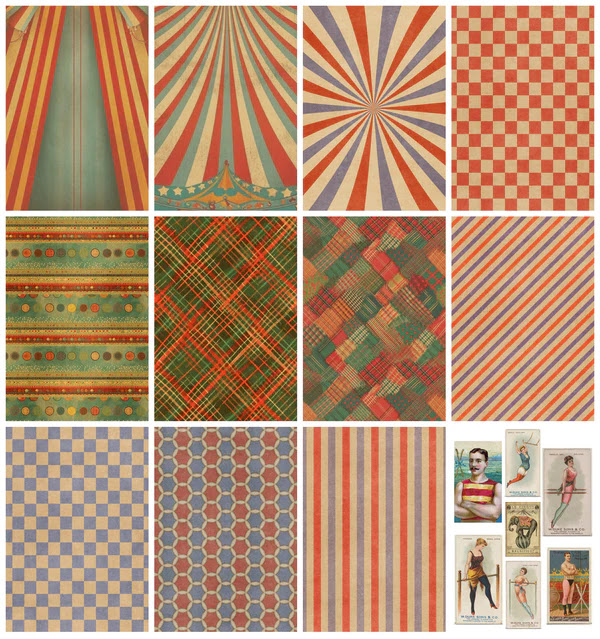
I've used papers from the beautiful Wedding Day Romance collection by Relatively Thoughtful, together with chipboard embellishments, washi sheets, and self-adhesive stickers from the Stamperia Romance Forever collection.
This is quite a large folio with lots of flips, flaps, and pockets, so lots of room for photos.
There are also photo mats that fit into the pockets to take 6x4 photos.
There's also room for larger and smaller photographs. Aren't these Stamperia images fabulous? Some are self-adhesive stickers, and some are washi sheets. This is my latest favourite thing. You cut around the images and they are self-adhesive and just melt into the paper.
These photo mat folders are 8x6 and so will take 4x4 and 7x5 photos.
These are 6x4 photo mats made from the Wedding Day Romance collection. I think it looks really nice on kraft card.
And these are the pockets where they fit. You can fit a 6x4 photo on each side, and there are 6 of them.
And this is with the photo mat removed. Aren't the cut apart sheets beautiful!
More of the fabulous stickers and washi, and room for more photographs.
Such pretty papers!
And this is the lovely chipboard.  I can't believe how well these collections all fit together so well.

As always the collection is available in both digital and A4 paper formats here in the Relatively Thoughtful store.
For new inspiration every day please visit our social pages.
And our blog

Have a wonderful day whatever you are doing, and thanks so much for looking x


Sunday 7 April 2024

Welcome Aboard

 Good morning and a very happy Sunday. Today I'm sharing a travel wallet made with the beautiful Titanic 2 collection from Relatively Thoughtful.

I made the base out of 1 A4 sheet of thick (300 gsm) black card so it's very economical with cardstock.
I cut it at 29 cm, then scored at 14 and 15 cm (so there is a 1cm hinge when the folder is closed) The card needs to be sturdy, but not so stiff that it cracks when folded.
For the pockets, I took an A5-sized piece of card and chopped 1/4 of an inch off the short edge.  I put a pencil mark at 5 1/2 inches and 2 1/2 and cut straight across.
As they are from the same cut they match exactly - phew!

To turn them into 3-dimensional pockets I scored at 1/2 an inch and 1 inch, then trimmed the corners and burnished really well.
This is the inside of the folder once the paper has been added.
And this is the outside.
These are the measurements of my pockets. I cut my Titanic papers 1/8 of an inch smaller all around.  I also remembered to reverse one (phew again!) I put some strong red liner tape around the outer edge, which will fold under to create the 3-D pocket.
Just stick them down making sure to create the gusset. I always add wet glue to the red liner tape to give myself some wriggle room.
Now for the fun part! I made lots of embellishments...
To go with the postcards that are included in the collection.
And here is the front all finished.
And the back. I really like how the tags look with the oversized paper clips.
This is the inside, all stuffed with embellishments,  postcards, and tags.
I really like how the photographs look in a die cut film strip.
And these tags are amazing.
As always the collection is available in both digital and A4 paper format.
For new inspiration every day please visit our social media pages.
Have a lovely day whatever you are doing, and thanks so much for looking x


Sunday 31 March 2024

Happy Easter

 Good morning and a very happy Easter Sunday. Today I'm sharing a Twist and Pop card made with the fabulous new Easter Farm collection from Relatively Thoughtful.

I started by choosing my papers. I thought these would look really nice on a kraft base card. This one is 6x6 and it will open from the top.
These gorgeous images are what made me want to make this kind of card. They've all been trimmed to 3.5 x 2.75. The backing piece is 3 5/8 x 11.5. It's been scored at 2 7/8, 5 3/4, and 8 5/8.
I've made the mechanism out of a thinner kraft card. It needs to be strong but flexible as there will be a lot of opening and closing.
I always use a strong wet glue to hold this in place. Red liner tape would work too but it's not as forgiving if you need to move it a little.
You now need to mark where to put your glue for the image strip. It's stuck on bottom left and top right.
Phew! It's always a relief when it's stuck down and it opens and closes easily. You can now work out the paper sizes needed for the top and bottom. In theory, they should be the same as the mechanism gets stuck on the centre point,  but to be honest, no-one is ever going to notice if they are slightly different. (And the cuties that are going in will have everyone ooohing and ahhing)
These are such lovely, fresh papers, and look at those cute critters! (ooohhh ahhhhhh) The base is all made now, so it just needs embellishing.
As always with Sally's collections there are loads of cut-apart sheets. I've also used some Little Birdie flowers and there's a great selection in the store.
Here's the front of the card.
And the inside - so cute!
I wish I could wear a hat with such style!


It's hard to believe that all this folds flat for postage isn't it.
As always the collection is available in both digital and paper formats in the Relatively Thoughtful store.
For new inspiration every day please visit our social pages.
Have a lovely day whatever you are doing, and a very happy Bank Holiday weekend. Thanks so much for looking x

Sunday 17 March 2024

Welcome To The Circus

 Good morning and a very happy Sunday. Today I'm sharing a card made with the fabulous new Circus collection from Relatively Thoughtful.

This is such a fun collection with lots of fabulous backgrounds and images.

I started by choosing my papers and images, and then cutting them to size to fit my 7x7 card.

Then I built my base card.

Next, I added the inner card, and attached my images.

Time to make some embellishments. As always Sally has given us some amazing cut-apart sheets.
And we're all done! I've added lots of shiny stars because, well, I like shiny stars!
Now that is a handsome ringmaster!
I really love these papers.
This is the card fully opened out. My Katzelkraft sentiment stamps fit perfectly inside the tag.
What a clever elephant!


I saved my favourite image 'till last. Aren't these lions beautiful?
As always this is available in both digital and an A4 paper collection.

For new inspiration every day please visit our social media pages.
Have a lovely day whatever you are doing, and thanks so much for looking x